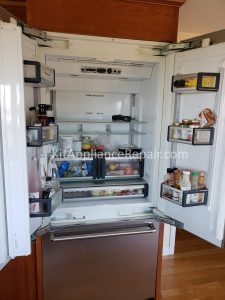
A customer has Thermador T36IT70NNP refrigerator leaking. This is the top/button built-in unit. It was leaking from the fridge compartment, the water fas following door frame and caused little flood damage on the hardwood floor. The customer decided to use our company for repair, after several rejections from other handymen. Reason to that is Thermador fridge is the most complicated brand to work. Because it has multiple lairs design. Just to give you idea simple drain cleaning and maintenance took me 3 hours to do.
Apon arriving I diagnose clogged drain problem right away and offered drain cleaning and condenser coil maintenance. After getting the permission from the owner I started the project. I will write down step by step how to reach drain tube for refrigerator side for this Thermador unit:
First, I removed metal screws plastic caps and side moldings.
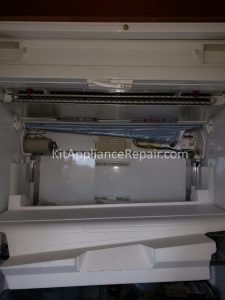
Second, I removed the control panel cover and which allowed me to remove the first cover panel.
Third, you need to remove 2 side plastic moldings and disconnect all wiring. This, allows you to remove the second lair of foam cover.
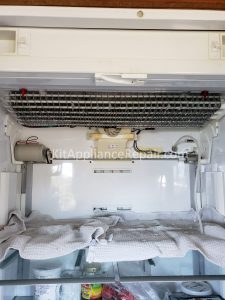
Fourth, Now I had to remove the last lair which is drip pan with plastic cover, which gave me access to drain tube. I used the hot steam and nylon tube to clean the drain tube.
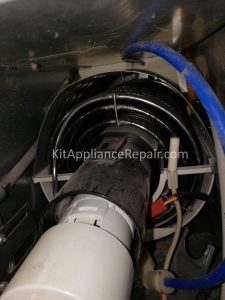
Fifth, now I had to remove the freezer door, racks, and button covers. This will allow me to have access to another end of the drain tube. Which is important because of the Thermador design and the way how they create the drain. There is the special plastic reservoir which you need to clean after drain tube. This reservoir and junk buildup inside, from the drain tube, can cause the blockage too.
Sixth, I vacuumed the condenser coil as a part of maintenance to improve airflow, which would allow compressors work on proper temperature.
Seventh, now you need to install everything back. Just follow all the steps backward.
Another Happy Customer!
![]()


